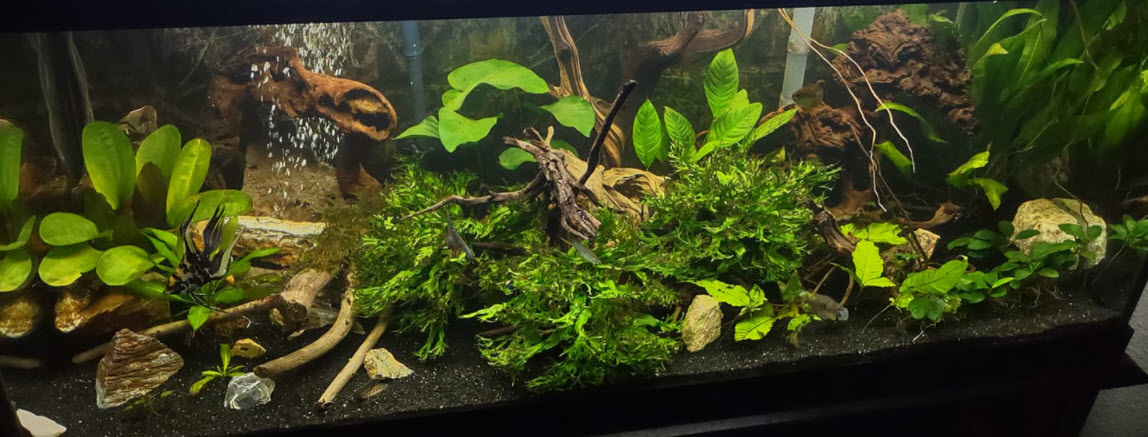
This article is about a type of planted aquarium where the “low tech” CO2 system is to obtain the CO2 from wood pellets buried in the substrate rather than getting the CO2 from some CO2 gas system. The system uses chemical fertilization. So this is sort of a “hybrid” between low tech and high tech planted aquarium systems. These are its TYPICAL characteristics.
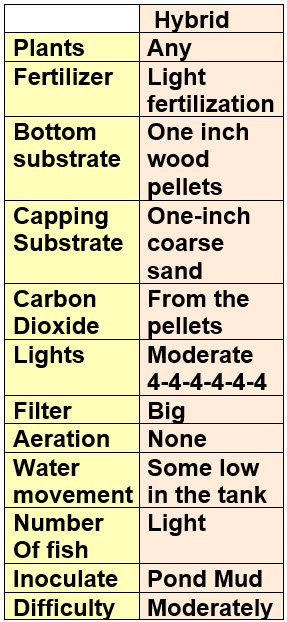
The “Hybrid Method” is named from the fact it incorporates certain elements of both the Walstad planted aquarium and the high tech planted aquarium. Note this is ONLY a TYPICAL set up. None of these parameters are cast in stone. They can all be changed with success.
Now a follower of Walstad will say the hybrid method is “unnatural” and thus is somehow “bad”. It uses “horrible chemicals” which won’t work because they are not “natural”. And the “aquascaping” followers of the high-tech EI method will chuckle at how “naïve” this approach is. But note it works.
The wood used for wood pellets typically has high tannins. If you do not want yellow water plan on using a lot of activated carbon to remove the yellow color. One idea on my bucket list to try is to replace the pellets with a ream or two of plain old office paper. That should supply the carbon dioxide without supplying any tannins.
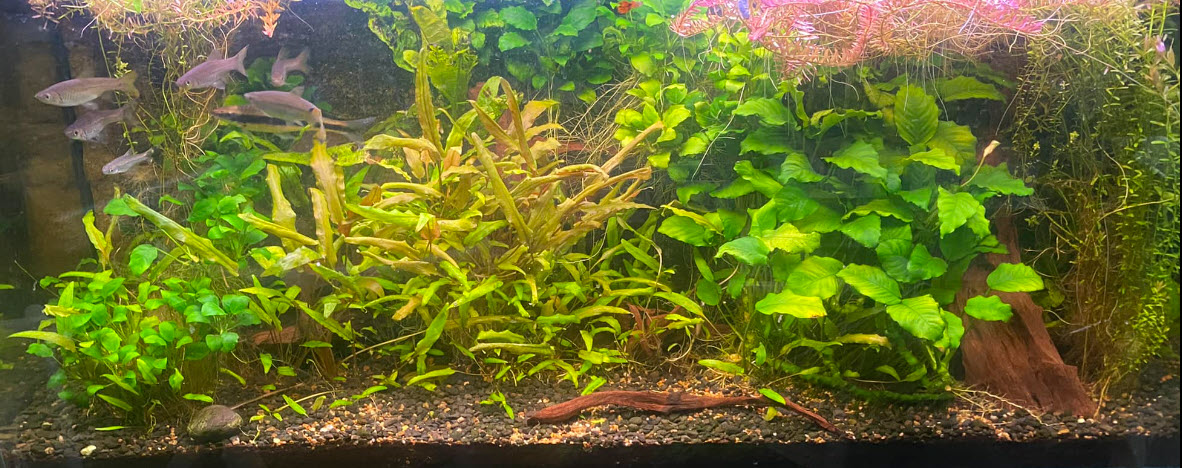
Then there are some who read my articles on the carbon to nitrogen ratio and ask why the cellulose pellets will not produce a huge amount of brown gunk and plug everything up. Good question! The answer lies in the fact that cellulose is VERY difficult for protozoans to break down. Indeed, there are many scholars who say the hot climate and coal produced in prehistoric times wouldn’t have occurred except for the fact that organisms which VERY slowly break down cellulose hadn’t yet come on the scene.
Both Walstad (low nitrogen soil substrate) and Father Fish (high nitrogen soil substrate) bury this cellulose (in different forms than pellets) and have GREAT tanks. I’ve got a relatively new tank(six months) with wood pellets and it is doing just great. The slow speed of the breakdown of cellulose is confirmed simply by the number of pieces of driftwood which have survived many years in tanks with very high nitrates. Cellulose is just VERY resistant to decomposition.
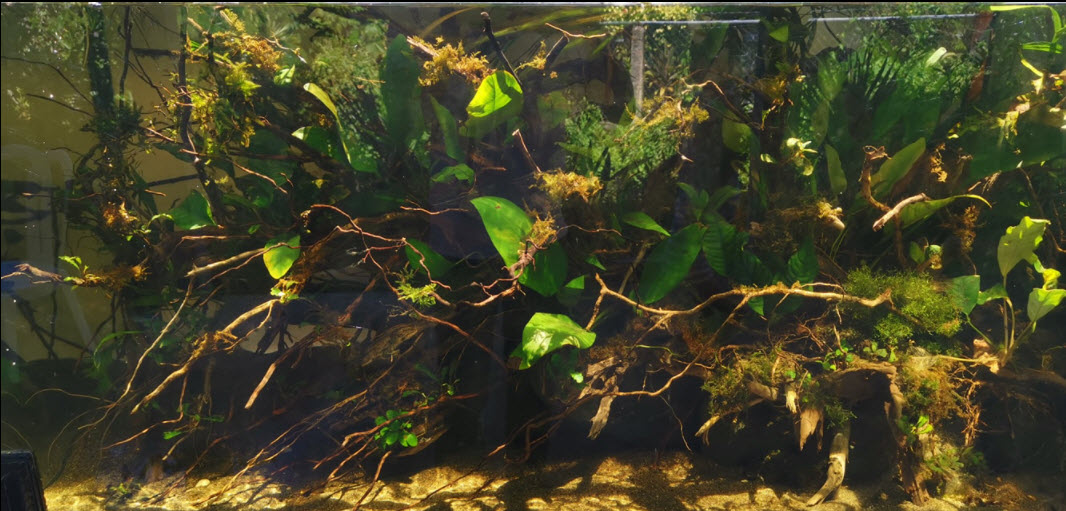
Hybrid Planted Aquarium in More Detail
I’ll make some recommendations for the “hybrid” planted aquarium system here with the caveat that this is just what I recommend. It is NOT “required” in any way. One can do exactly the opposite of these recommendations and be successful. Mother Nature is very flexible. I recommend a “hybrid” planted aquarium that has the following characteristics:
- Lower layer of substrate: 1/4 inch wood pellets fortified with very small amounts of phosphate and iron. Water will expand this to one inch of wet wood particles.
- Cap: 1 inch coarse sand/small gravel mix, tan, light brown, medium brown, black all mixed together. 1240 or 1040 Black Diamond blasting media also works well either alone or as part of the mix.
- Fertilization in water column: light with homemade ammonium nitrogen and potassium fertilizer added daily with a dosing pump one hour before the light are timed to come on. Aim for a nitrate level of 20 ppm. If one has a high pH (8.0 or higher), switch out the ammonium fertilizer with a nitrate fertilizer.
- Fertilization in the wood pellet layer: light with iron and phosphorus tabs.
- Carbon Dioxide: No CO2 injection, CO2 comes only from wood substrate.
- Lights: LED aquarium lights (white, blue and crimson) at 3 “true” watts per ten gallons (or in the alternative white LEDs at 6 “true” watts) for 4 hours on, 4 hours off, 4 hours on, 4 hours off, 4 hours on, 4 hours off
- Filtration: light on flow but very heavy on biofiltration (tricky!)
- Aeration: none with small number of fish
- Water movement: Some only low in the tank, very little surface movement
- Fish: Small number of small fish under two inches
- An important addition is some sort of “inoculate”, a natural source of biodiversity in the substrate. I use pond mud.
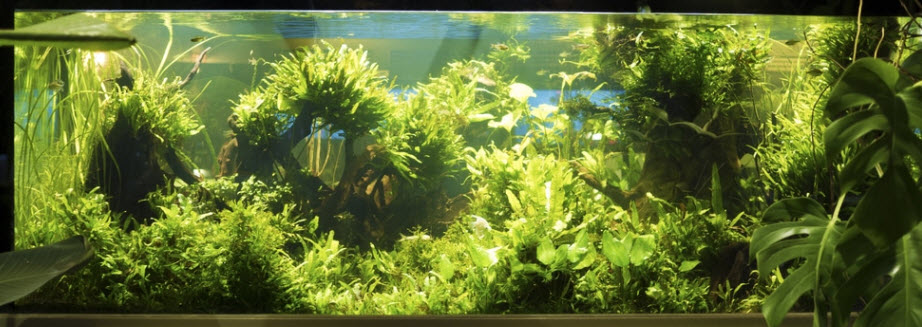
Start out with one quarter inch of wood pellets (the kind used for wood stoves). The pellets are pure compressed cellulose and will feed carbon dioxide to the aquarium for a long time. The wood pellets are so dense they sink and they will not float up in the aquarium. The pellets do expand by about a factor of five as they absorb water so one will get about a one inch layer from a quarter inch layer of pellets.
The phosphate and iron can be supplied by adding tabs of iron and phosphate. The formula for these tabs and the formula for the homemade fertilizer can be found in the following article:
15.5.4. NH4 and Tabs Fertilizers
Mix fifteen grams of phosphorus tabs and five grams of iron tabs per pound of wood pellets to start out with. Don’t add potassium or nitrogen for the first month after planting the plants.
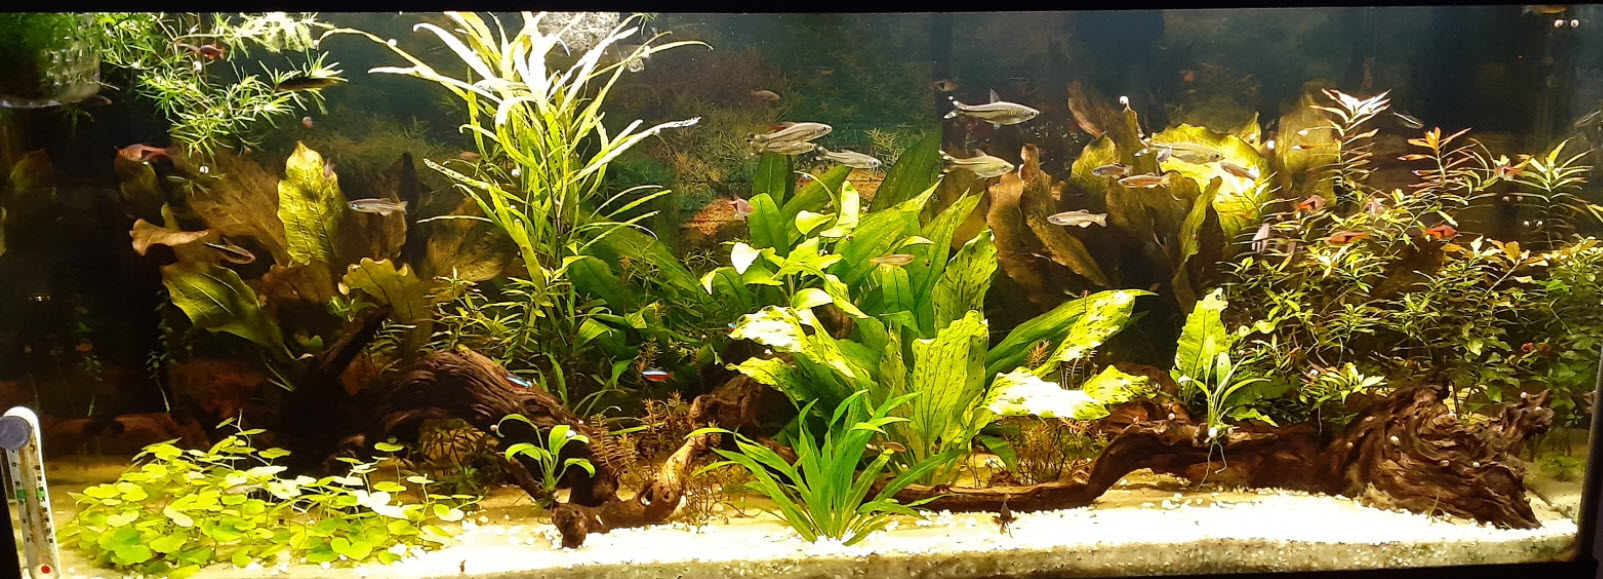
The inoculate is quite flexible. I like to use just a teaspoon or so of brown “gunk” and mud from the pond down the road, together with one teaspoon Black Kow cattle manure compost per five pounds of wood pellets. Soil from a potted plants or garden soil will also work well.
Add the inoculate, phosphate and iron tablets to the wood pellets and mix. Put one fourth inch into the aquarium dry. Wet the pellet mixture lightly with a spray bottle.
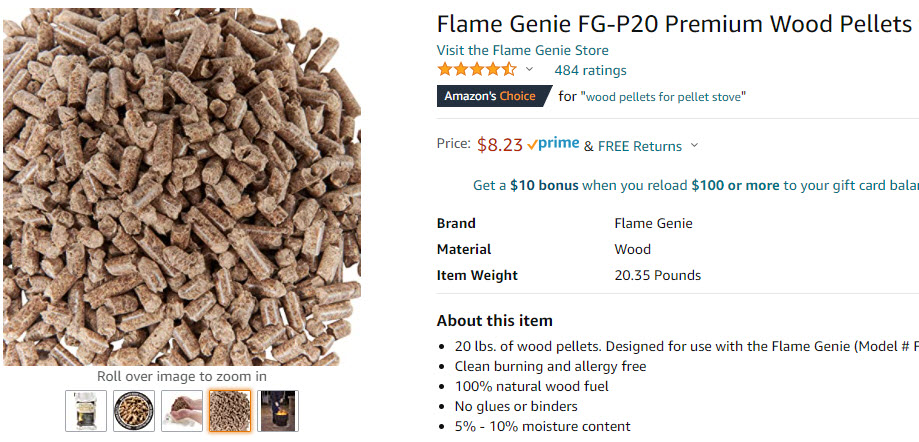
These wood pellets break apart rather rapidly in water into 1/8th inch wood particles which stay on the bottom of the aquarium.
Then cover with one inch cap of the coarse sand and small aquarium gravel. I prefer several colors of aquarium sand and gravel sold in all fish stores (cream, tan, medium brown and dark brown sand all mixed together) mixed with the small “natural” aquarium gravel than is also several colors of brown all mixed together. I add some Black Diamond blasting sand to give some black coloration. Mixing all these colors and sizes gives the most natural bottom look that doesn’t show if the wood pellets come to the surface during re-arranging. Fish poop and dead leaves also blend in and typically can’t be seen.
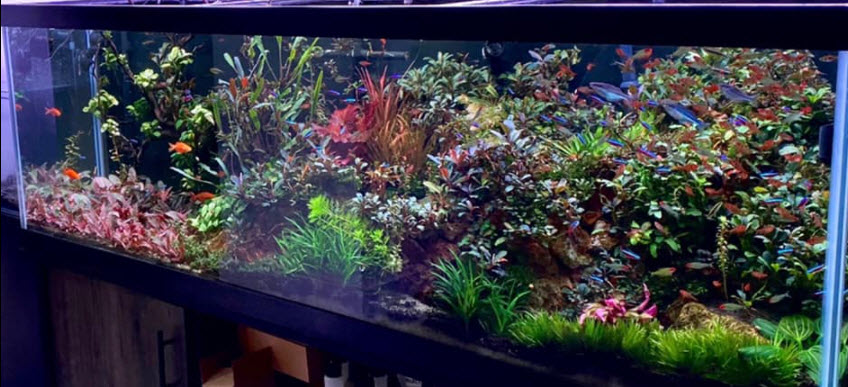
Once everything is in place wet the sand with a spray bottle again. This keeps it in place during filling. Then slowly and carefully add the water without disturbing the substrate. I take a small cake pan and fill with water poured or hosed into the pan to overflow onto the dry substrate.
Once the aquarium is filled with water cover the aquarium with black plastic and let it sit idle with the filter running for six weeks with some food additions. This “maturation” time lets Mother Nature get everything settled in, so to speak. More can be found about this subject at this link:
2.15. Cycling a Planted Aquarium
In a well planted aquarium the biggest problem one will see is algae. Thriving vascular plants covering most of the aquarium are the best defense against algae. One never wants the algae in a planted tank to get ahead of the vascular plants. So it becomes important to get the vascular plants into the aquarium as early as possible. So go ahead and plant the tank after the six week “maturation” in the dark.

And be aware that a planted aquarium without CO2 injection, typically needs to be taken very slow, with low light levels. By “low light levels” we mean both limited hours of lights on per day and low power aquarium lights (white, blue and crimson) or moderate power normal “white” lights not made for aquariums.
This would be like Aquarium LEDs (blue and crimson LEDS in the mix) on a 4-on/4-off/4-on/4-off/4-on/4-off at 30% power or a cheap white LED on the same schedule at 100% power. The four on and four off schedule maximizes the CO2 utilization by the plants. Note one can also use the less light provided by 8-on/16-off, 4-on/4-off/4-on/12-off or 4-on/6-off/4-on/10-off light schedules. These are NOT “rules”.
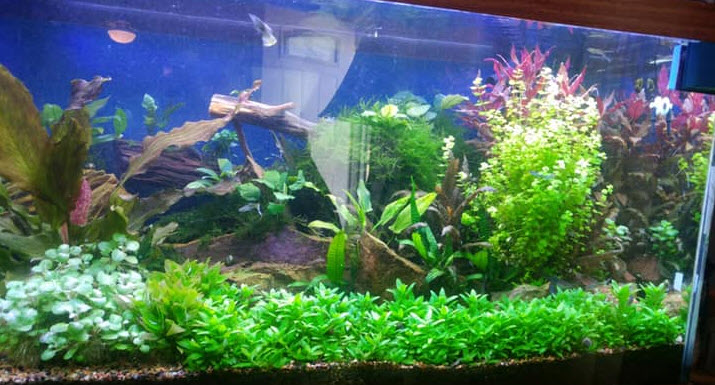
The process that this planted aquarium technology depends on is simple. Nitrogen and oxygen diffuse down from the water column to the cellulose. Organisms then use the oxidation of cellulose to produce nitrogen containing proteins. The very slow oxidation of the cellulose creates carbon dioxide, which diffuse up into the water column.
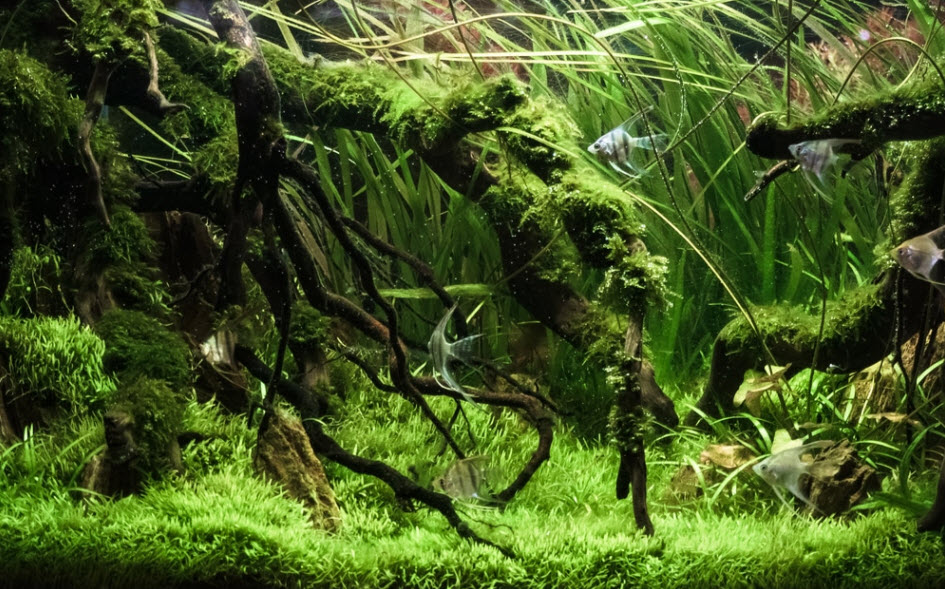
The nitrogen is recycled hundreds if not thousands of times in the wood substrate, continuing to give off carbon dioxide till the wood supply runs out. In ten years or so, when the wood runs out, the amount of organic material in the form of rotting roots into the substrate typically will continue to provide the carbon dioxide.
It is very important here that the capping layer be porous coarse sand, fine gravel or a mixture. If one uses fine sand like cheap play sand at a one inch depth SOMETIMES (again, this is NOT a “rule”) not enough oxygen will diffuse down and things can get pretty sour and smelly. Use 100% porous 1/4 inch aquarium gravel and the wood will decompose too fast, again creating some bad smells.
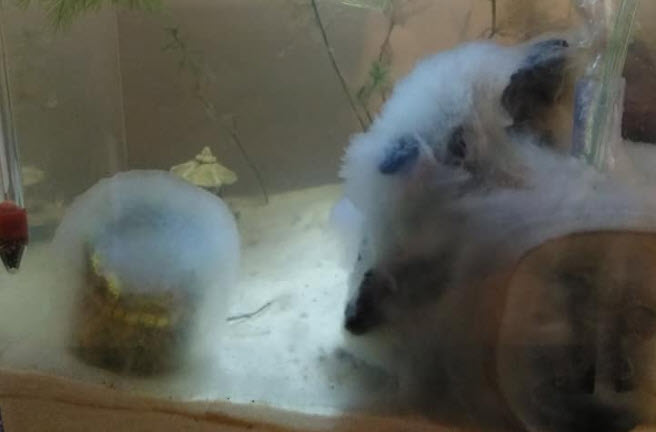
Note that it is quite normal to get a half inch white “beard” covering all the substrate in the aquarium. This can appear literally overnight and normally creates panic in the hobbyist. JUST IGNORE THE WHITE BEARD! It will go away in a few weeks. The white beard is simply a very fast growing organism called a water mold which feeds on some simple carbohydrates initially found in most wood.
There are a whole host of organisms which were introduced by the pond mud which eat this water mold and produce carbon dioxide. These organisms are much slower to reproduce than the water mold so they take some time to get going and eat the water mold. But if one just has patience the water mold will go away.
It is also common to get some pretty bad smells during the settling in period. Again, just ignore it and they will go away. For the first month or two it is always a good idea to add some more aeration than normal in order to prevent these smells and to hasten the decomposition of the water mold to carbon dioxide.
I use a large canister filter filled with foam, pot scrubbers or K1 media for a 110 low tech planted aquarium. Outlet from the canister needs to be deep in the aquarium and NOT stir up the surface. I use baffles on the outlet to slow the flow into the aquarium. The baffles are simply a capped section of a pipe one inch large in diameter than the outlet pipe going into the aquarium from the filter. This produces a flow which has been turned around 180 degrees and spread out considerably.
I decidedly recommend against using air stone operated filters or hang on back filters in ANY planted aquarium with small numbers of fish. They give too much aeration. Small aquariums can use small in tank filters that are not air operated. For tanks under 75 gallons I heartily recommend pipe-under-sand filters and pipe-on-back-wall filters such as are found in this article:
8.7.8. Small DIY Filters
Note that in this type of hybrid planted aquarium large amounts of wood in the aquarium as decorations are actually beneficial as they add considerable carbon dioxide. The fertilizer level would need to be increased but that is easily calibrated. Ms. Walstad does not use wood decorations in her aquariums. But she is adding food as the fertilizer and is thus limited in how much fertilizer she can add. For several fertilizing methods for such a low tech planted tank see the “fertilizing” link below.
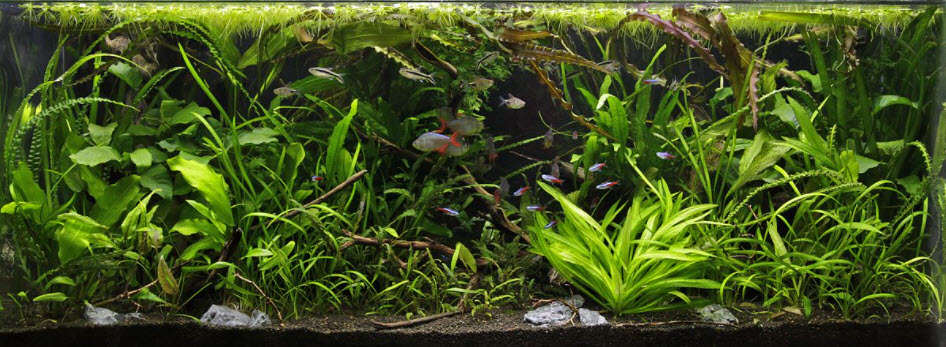
Low Tech CO2 System for Aquariums
There is a low cost, low tech system which adds considerable CO2 to an aquarium. This low tech system will be a very good addition to the hybrid system outlined above. The details of this system can be found at this link:
15.6.1 Low Tech CO2 Aquarium System
Planted Aquariums in Depth
The following sections will give you some general guidelines on the easiest ways to set up a beautiful planted aquarium:
15. Planted Aquariums
15.1. Planted Aquariums in Depth
15.2. Fish for Planted Tank
15.3. Fish Limitations
15.4. Types of Planted Aquariums
15.5. Fertilizing
15.6. Carbon Dioxide
15.7. Substrates for Planted Aquariums
15.8. Walstad Aquarium
15.9. High-Tech Planted Aquarium
15.11. Many Fish Many Plants
15.12. Propagating Plants
15.13. Hau Aquariums
15.14. Low Tech Planted Aquariums
2.15. Cycling a Planted Aquarium
.
Aquarium Science Website
The chapters shown below or on the right side in maroon lead to close to 400 articles on all aspects of keeping a freshwater aquarium. These articles have NO links to profit making sites and are thus unbiased in their recommendations, unlike all the for-profit sites you will find with Google. Bookmark and browse!
.
Mik says
Thanks for confirming on the FF substrate amendments.
On a similar note, I have coco coir fiber on hand. Are there major benefits to the cellulose in the wood stove pellets you recommend in comparison to what I have?
Also, I was considering amending my soil substrate with mealworm frass since I have an abundance of it. Depending on the site, some say it’s 2,3,2 others 3,2,3 for NPK. What are your thoughts on that? Would the soill become too rich?
Thanks and have a good one!
Dave says
In reply to Mik ……. Father Fish list makes me laugh. It started out with five things and ended up with thirty over the span of several videos. I just cannot take it seriously, especially since Father Fish will sell you his mix. The profit motive will turn the best ideas to crap in a very short time period.
Vlad says
Thanks for your comment. The trace elements are a funny one indeed and still not sure why the plants seem to respond in such a way. For the axolotls food source being “meat” might not provide the broad traces needed. One clue is animals are poor on boron, generally have nil. I have come across a way of testing boron at home with sensitivity in the sub ppm range. Interestingly I found the tap water rich in boron, my small walstad experiment bowl using the dirt from my worn containers was slightly higher, the aquarium was basically not much different to distilled water. The interesting part is a water change boosts plant health for a week or so. My best guess is a chronic lower boron ratio vs the other trace perhaps. Hard to know for sure. I have noticed especially with frogbit that they appear to have two bands with trace element dosing, basically almost none, or heaps. Outside of those they end up stalling with grid like holes all over. The variety of hygros seem to either have holes when too much or small twisted leaves when too little with that narrow range mentioned, almost the same with red root floaters. But I haven’t tried regular very low dosing to see if they do the same as the frogbit. Maybe I’ve been using too much the whole time. Further experimenting is needed, it’s a shame the axolotls refuse to eat pallets as they should give a more balanced dosing of trace elements than worms. I bought an auto dozer to help rule out inconsistencies, a Jebao wifi unit but it was faulty and had to ship it back for a refund. So I’ll have to revisit that.
As for potassium, I have tested and dose as needed. It’s never lower than about 25ppm and never made a difference.
Also after pulling my hair out for a week trying to find a good potting/garden soil with no luck in Australia, all are fortified with fertiliser and all kinds of crap, even the organic ones, I tried the best one with lest adulteration and it went putrid despite my best efforts to provide shallow oxygenated water in a test container, so I’m hesitant to do a full setup with the potting soils available here. Eventually I found the exact same wood pellets in this article are readily available locally, finally a win for us Australians! I’ll be going this route for my next setup.
Mik says
As I mentioned on the FFAF page, 8 of my 9 freshwater aquariums are “dirted” fatherfishesque. His medley of ingredients is staggering (see below) and honestly, it seems like anything put in the substrate is for fertilization. NPK and micronutrients. Maybe he chooses the massive variety so things break down at different speeds? I’m going to list his ingredient recipe at the bottom of this post for those who aren’t familiar with it and in case you’d like to comment (please) on those particular ingredients. I cut it short due to availability and low desire to buy all that stuff.
At any rate, in this hybrid page you note using wood pellets. Makes total sense to me to give a slow-release cellulose. I’ve been using a mix of coco coir fiber (I had quite a few bricks leftover from a propagation experiment) as the cellulose source, some soil straight from my very active garden. I sprinkled some ferrous sulfate, epsom salt, and baking salt in for some pH balance.
I am wondering what your thoughts are on coco coir vs the wood pellets? Are the pellets vastly superior and I should stop using coco (I build aquariums for friends and family on the side) and pick up pellets? Or should I continue and just pick up a bag of pellets to start mixing in as well since they’re so cheap? Is the coco providing CO2 to my tank thru the substrate like the wood pellets are? I would imagine so since they’re both cellulose.
Thank you for spelling out a nice, simple recipe of 1 pound wood pellets, 15g P tabs, and 5 g of Fe tabs, and some inoculate.
———————————————-
FF recipe…
FF doesn’t state actual volume on this recipe for a 10 gallon tank, but if it’s supposed to be 1 inch of substrate, that’s approximately 200 cubic inches or ~ 14 cups volume. I imagine the “parts” recipe is for scalability, I’m noting volume next to the parts based on 14 cups of substrate
2 parts (7 cups) peat moss/coco coir/ground dried leaves
1 part (3.5 cups) potting soil/back yard dirt
1 part (3.5 cups) compost
Amendments with volume measurements for a 10 gallon tank, to be mixed in with the base layer above
1 ounce worm castings
1 ounce bio char
1/2 diatomaceous
1/8 ounce baking soda
1/8 ounce Epsom salts
1/2 ounce limestone (calcium carbonate?)
1/4 ounce ferrous sulfate
1/8 ounce mycorrhiza (fungus
1/4 ounce blood meal
1/4 ounce bone meal
1/8 ounce bat guano
1/8 ounce phosphate
1/8 ounce leonardite
1/4 clay powder
total volume of amendments: 4.75 fluid ounce
Dave says
In reply to Vlad ……. My sense for what you are describing is that you have a plant species (example: Amazon Sword) that loves potassium and rapidly ties up potassium. Try supplementing with just potassium sulfate. And I doubt you have a narrow window on trace elements. Correlation does not imply causation.
Vlad says
Thanks for the great site. Lots of detailed info!
I am looking at setting up another tank, probably a hybrid/walstad.
I’m located in Australia so most of the stuff sites suggest to use, even DIY items aren’t available here most often, so is there something I can use for the iron tablets? I have DTPA Fe powder and can also get iron sulfate but I’d imagine the DTPA would be better? I think the Flourish tabs are predominately iron too which I can get but I use DIY Osmocote native Aussie variety with very low trace profile sparingly under the root feeders with great results for those plants.
I have purchased some Di-calcium phosphate which is similar to the mentioned calcium phosphate in the Walstad article, so I assume that should be ok? I have potassium phosphate as well that I use to dose the current tank but I gather not to add potassium right away?
I accidentally created a sort of remote hybrid tank in the current planted axolotl tank via adding peat moss in the large canister filter, I left it in there for months as a means of lowering Ph for the plants, but then realized I found a means of increasing co2. Plants grow great but are fickle with the trace elements and have always limited by them and start to die after a week or two without dosing, the food for the axolotls have never worked as the fertilizer as I guess because they are live earth worms? I use plain flourish which works great but has an narrow window from deficiency to toxicity, 5.5-6ml daily is the window, why would such a narrow dosing window exist? I have tried many other trace mixes as all resulted in death of the plants, even as low as 1/50th of the recommended dose but I narrowed it down to excessive zinc in all of them except Flourish.
I get issues of either twisted and no growth, or great newer growth but then dropped leaves with pinholes and pale between veins and then both at the same time if I up the dose a tiny bit more, not much in between. My best guess is deficiency of one or more elements and accumulation/toxicity of another or more at the same time. My macros are spot on all of the time. Perhaps a lack of anything with a CEC could be a factor? I don’t know at this stage. The tap water supply annual reports don’t show anything out of the ordinary for trace elements either. The water is rich in Mg though which is good.
I am worried I’ll have the same issue in the new tank. I have systematically ruled out all the issues down to each trace element, but the narrow window is still a thing. The current tank isn’t ideal, and I plan to redo the bottom with a similar method this this article, the bottom currently is just an ultra fine play sand (terrible I know).
A lot of specific question I know, but hope you can steer me in the right direction.
Thanks, Vlad.
Dave says
In reply to Ian …….. You’ve created a cesspool somehow. I’m going to guess it has to do with “This I capped generously with washed sand from the beach”. If this cap was an honest three inches (Measure it) you are probably OK with just frequent large water changes. If it was less than three inches consider starting over. And don’t obsess over CO2 or pH.
Ian Allen says
Is there a reliable way to cheaply monitor CO2 (and possibly oxygen?) Also if my pH is pretty much always around 8.5, should I consider trying to soften the water?
I’ve got a 180 liter tank. I ended up with somewhat of a hybrid system (its still cycling), with a pan about 25×35 cm and 8 cm deep filled with smaller-than-pea-gravel with a UGF and a small powerhead. I’m getting good flow through most of the tank, without turning the surface into a river. The rest is a father-fish style 1-inch and 2+-inch substrate with sand cap. Here I used some low pH rhodedendron/blueberry enriched commercial soil, wild soil from a drained lakebed, chelated-iron and magnesium enriched gardening lime, bone meal, blood meal, and some osmocote. On top of that substrate, I put a thin layer (like 1 to 2 mm) of the lime, then threw down a good layer of moderately decomposed wood chips (soft and very muddy wet but not fully rotten), and another layer of dried oak leaves, think big handfuls.. This I capped generously with washed sand from the beach (moraine so lots of granite, quartz, feldspar etc..). This is fairly heavily planted, but not quite up to what people seem to recommend because plants are crazy expensive here. Ive been transplanting rooting shoots, however.
Ive got a bristlenose in there, and had some zebras but they died recently during a massive bloom where the water went dark and soupy almost overnight. We did a 90% water change after that (two weeks after starting) and ive got bacteria and algae but the plants are mostly all doing very well, with lots of new growth despite a lot of die-off of old leaves -probably one of the reasons for the soup-night.
My fish seem(ed) to gasp tho lately, even tho i moved the powerhead up to break the surface more and added bubble aeration. I had been keeping it low with little agitation before hand, to keep CO2 high, and the fish all did great until that big bloom. The water is definitely hard (our tap water will calcify a coffee maker in short time, but is close to neutral pH with just a slight tendency for alkalinity. But my tank is consistently at 8.5 pH or so, and I am very cautiously considering to titrate some HCl in to get it down to 7.5 (im also a chemist so im not worried about nuking everything in an acidic armageddon), but somehow I doubt this will be useful as I expect the lime layer (there are also some small chalk-bearing flint stones and a handful of seashells) will just dissolve back out and rebalance things towards alkaline.
Anyhow, I greatly appreciate your website and just hoping that my tank isnt doomed to crash. I’m concerned with the blooms and the high pH, and it is awfully hard to “do nothing”.
Dave says
NewbFish …. sounds good to me. Bring the pH of your water up to at least 7.4 GH 6 KH 3 with calcium carbonate with equal amounts of Epsom Salts. This is for your shrimp and snails. And note you don’t want to add shrimp for at least four months as they need a mature tank. More about this can be found at https://aquariumscience.org/index.php/17-10-aquarium-shrimp/ And as you have an undergravel filter you can go with epiphytic DIY fertilizer and skip the root tabs (root tabs don’t work well with undergravel filters).
NewbFish says
What are your thoughts on having a ugf with safe-t-sorb in part of a 65 gallon hybrid planted tank that will hopefully house caridina shrimp, bladder snails, tetras, rasbora, and cory cats. Fertilizer will be diy npk liquid and diy root tabs.
Any considerations or gotchas?
FYI, my tap water source is 6.4 PH, 0 KH and 0 GH. I have crushed coral, calcium carbonate powder and baking soda on hand.
Dave says
In reply to James …. One gallon is too small for even a hybrid. But if you want to try it, go with no fertilizer and no iron.
James says
Planning a 1 gallon desk aquarium to experiment with a low cost no filter ‘jarrarium’. I have wood pellets, steel wool and solid ferts (for phosphate). How much steel wool and phosphate salt should I be adding? A teaspoon of ferts and one scrubber?