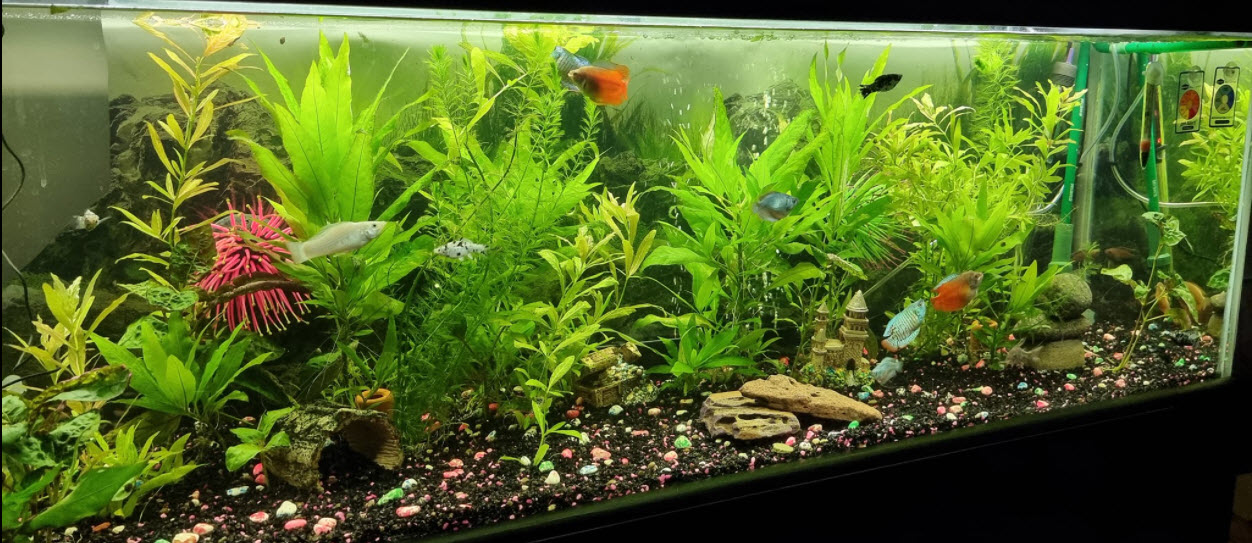
There are two low tech CO2 systems extant. One, an inverted bottle diffuser, is for ONLY small low tech tanks under 20 gallons (80 liters). The second, a “wide mouthed jar” diffuser, will work well for much larger aquariums. These type systems are often called “passive CO2 bottles”.
Bottle Diffuser for Small Aquariums
There is a type of low-tech, low-cost CO2 “passive CO2 bottle” diffuser system for ONLY low tech planted aquariums under twenty gallons. These type systems add small amounts of CO2 to an aquarium that should have only low intensity lights over a span of 8 hours per day or so. These diffuser systems will NOT feed enough CO2 for a high tech tank with high intensity light for say 14 hours per day. A variation of it was used with yeast CO2 generators way back in the 1980s.
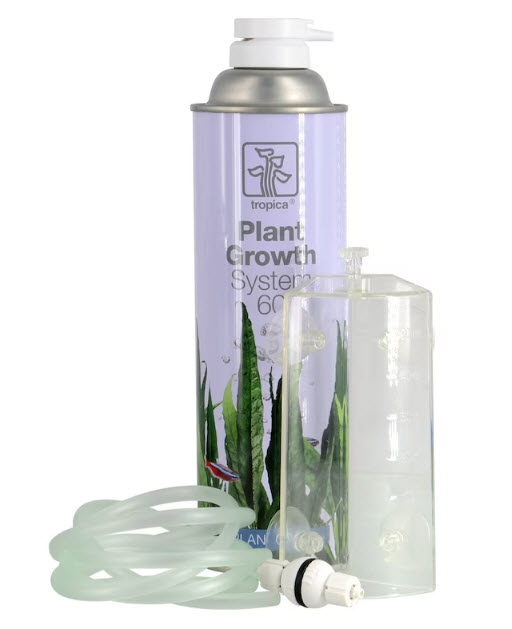
Commercial systems which use this system are the ista CO2 Starter Kit, Fluval CO2 Kit, and the Tropical CO2 System 60. Then there are a whole host of DIY designs that can be found on YouTube. These various systems should be considered as alternative systems to a dirted or Walstad aquarium as they will only push the CO2 to a low level, just like a dirted tank. Contrary to the elitists in the aquascaping hobby, these kit are VERY useful in small aquariums and very safe for fish.
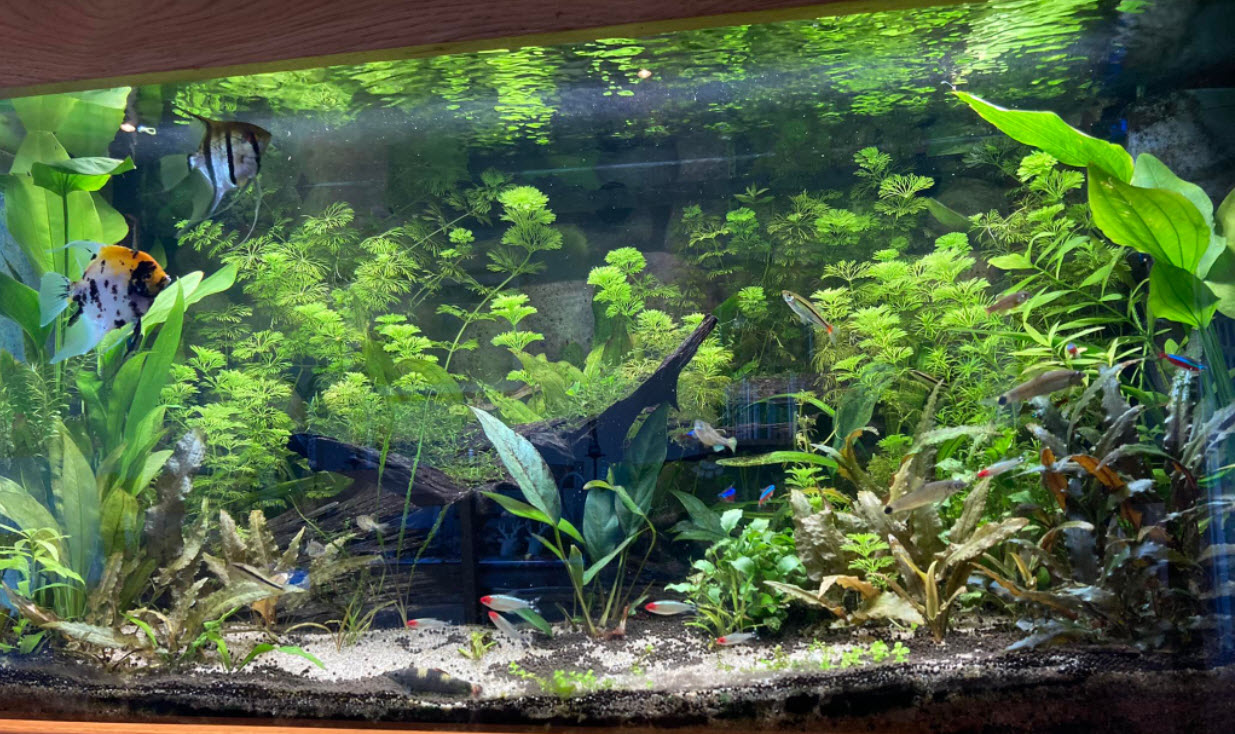
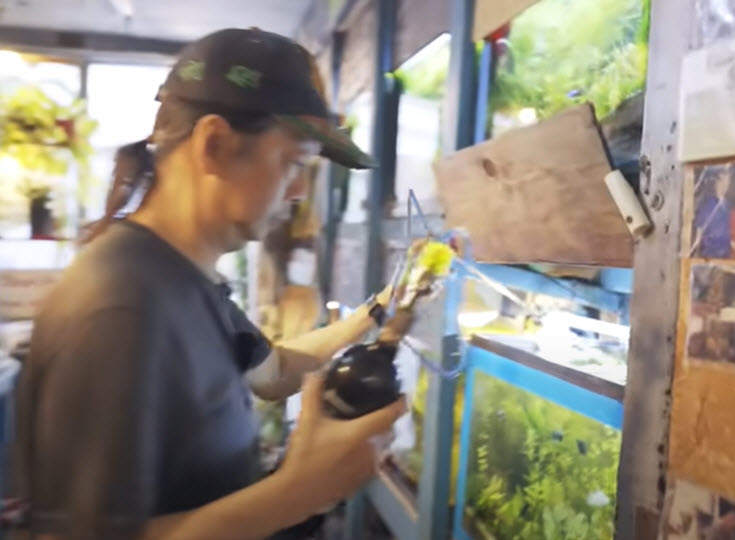
An DIY version of this system is used by Mr. Justin Hau at a small local fish store in San Francisco by the name Ocean Aquarium. The Ocean Aquarium store has a whole bunch of small ten-gallon low-tech low-light (8 hours max, no crimson or blue LEDs) freshwater aquariums filled with gorgeous plants and small fish. The store caters to nano aquarium enthusiasts (most landlords in San Francisco limit aquarium size to a maximum of ten gallons due to earthquakes).
Mr. Hau uses a small (Tippmann Paintball 20oz CO2 Air Tank, $29) CO2 pressurized tank to fill small narrow mouthed water bottles floating in his small tanks with CO2 every few days. He uses a plastic tube formed into a “J” to do the filling.
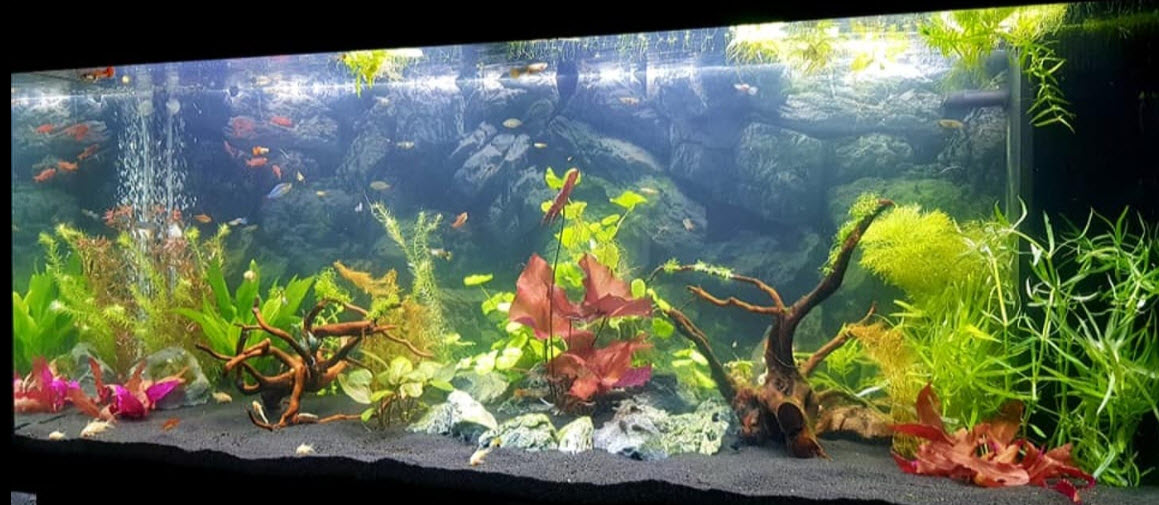
The CO2 dissolves slowly in the small amount of water which slowly swirls around the SMALL bottle opening. This results in a SMALL amount of CO2 going into the aquarium. This SMALL amount of CO2 nourishes a lush growth of largely low tech “green” plants. Note that the size of the bottle opening directly determines the amount of CO2 that goes into the aquarium. While a wide mouth will NOT add too much CO2, it will result in the CO2 being rapidly depleted from the bottle.
This system is very attractive as it can be done very cheaply. And another attraction is that one cannot kill fish with this system. It is impossible to add too much CO2 with these systems.
Mr. Hau’s CO2 system is easily changed into a low-tech system that simply uses any one of several CO2 generating systems to supply the CO2. With a simple yeast generating bottle the system looks like this:
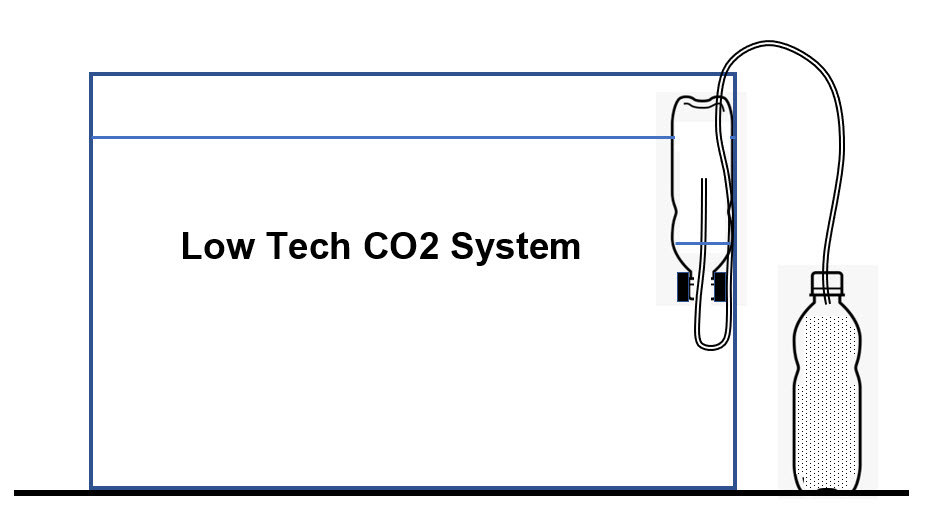
The diffuser bottle that is in the aquarium is secured to the side of the aquarium with tape or wire (Mr. Hau just lets them float tethered to the side of the aquarium). This inside-the-aquarium bottle does not have a cap on it. The inside-the-aquarium bottle weights the neck to keep its neck down in the water even when filled with CO2.
Mr. Hau uses a rock held on with wire. I found some large steel nuts at Ace hardware that screws on the top of a water bottle. One can also weigh the neck down by wrapping silicone-coated lead weight strips such as are used to weigh down aquarium plants. The two commercial kits are very good options. They use suction cups to hold to the side of the aquarium.
A third way to secure the bottle of CO2 down inside the aquarium is to use a big lead fishing weight (the lead is harmless to the fish). They make them up to half a pound in size. Simply wrap a steel wire around the neck of the bottle and then run the wire through the grommets on the weight. One can also drill holes in the bottle and run wire through those holes.
It should be noted that even a small bottle filled with air is VERY buoyant. So it is best just to tether it to the side and let it float up and down. As long as the water level in the bottle is lower than the water level in the tank, all will be fine. This is true even if that level is only one eighth of an inch lower.
Thread the tubing into the bottle and secure the tubing so it can’t come out of the bottle. The inside-the-aquarium bottle then needs to be filled with water so that there is little to no air in it when it is secured into its position. Note Mr. Hau uses no airline into the bottles, just filling them with a “J” tube when needed.
Then attach the tube to a CO2 generating system. I’ve just shown a single bottle outside the aquarium to illustrate the system. Obviously if one chooses to duplicate the way Mr. Hau fills the inside-the-aquarium bottle there will be no outside bottle. The outside bottle in this diagram is simply representative of any one of the following CO2 generating systems:
- Disposable CO2 containers (ista CO2 Starter Kit, Fluval CO2 kit or the Tropica CO2 System 60)
- yeast and sugar system (cost ranges from $5 for simple DIY systems to $80 for complex systems)
- pressurized baking soda and citric acid (cost ranges from $30 for DIY systems to $150 for complex systems)
- paintball CO2 systems (cost ranges from $30 to $150)
- large pressurized CO2 systems (price ranges from $100 to $500)
There are a whole bunch of very good videos on YouTube about each of these systems. So I won’t try to explain them. My personal favorite is simply a cheap DIY yeast/sugar two bottle generating system with no valves or regulators. Two bottles, some tubing, and some silicone. Simple and easy. It does need to be refilled about once every two to four weeks. But that is easy. The key is that yeast works pretty slow at the temperature of most homes.
It is also very easy to simply use Mr. Hau’s method (see the Aquarium Co-op video on it). Simply put a flow valve and tubing on a pressurized tank (Paintball Air Tank) with a plastic tube bent in a “J” to allow going inside the neck of the bottle in the aquarium. Simply do what Mr. Hau does, namely, fill the bottle with CO2 whenever the amount of gas in the bottle becomes low or disappears (this should be every one to two days). Easy.
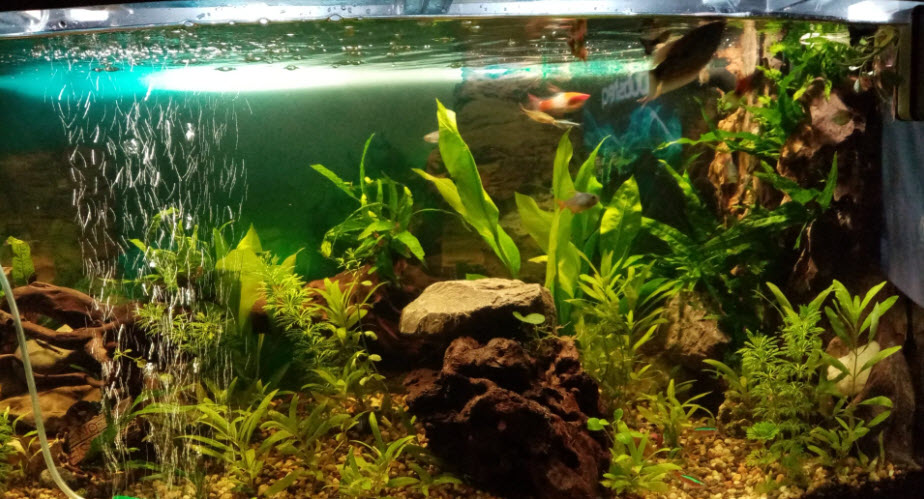
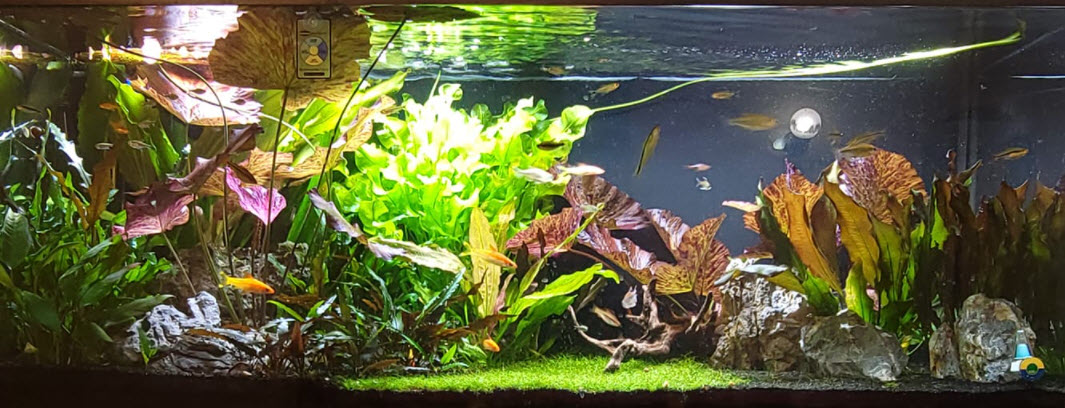
Now for a small aquarium (under ten gallons), a small soda bottle inside the aquarium will do the trick very well. For a larger tank (up to twenty gallons), one can use a larger bottle or even two bottles.
When there is no gas left in the system the bottle in the aquarium will show the aquarium water filling the bottle IF the bottle is completely submerged in the aquarium. It is important to use a bottle where the size of the mouth is proportional to the tank size. A five gallon will need a small mouthed bottle. A fifteen gallon will need a wider mouth. Note anything over twenty gallons should have a constant CO2 set up with a jar diffuser (see below).
One reader used an ista CO2 Starter Kit (4 cm diameter opening) on a 100 gallon aquarium. The gas in the bottle dissipated in three to four hours and put 10 to 15 ppm CO2 into the aquarium. Hooking an ista up to a continuous CO2 generator or tank would give a decent level of CO2 in a 100 gallon,

Mr. Hau has aquariums with literally NO water flow in them. If one has ANYTHING which produces a water flow across the mouth of the bottle, even a small water flow, the bottle opening will need to be closed down. A metal cap can have a hole drilled in it and put on the bottle in an aquarium with some flow of the water.
Note that any decent flow at the surface of the aquarium will remove the CO2 from the aquarium as fast as one can put it in. So Mr. Hau’s method will NOT work with any decent water flow on the surface of the aquarium.
To speed up the dissipation and increase the CO2 levels, drill a small hole or holes in the neck of the bottle in the aquarium. To slow down the dissipation and decrease the CO2 levels, simply cover a small portion of the opening of the bottle in the aquarium with some tape.
Note that this system is very safe and will not create a dangerous level of CO2 in the aquarium. So no expensive regulators or measuring devices are needed. This is also a very cheap system to operate.

An Alternative Diffuser System for Larger Tanks
Let us say you have a 100 gallon tank with plants that you want to cheaply and safely add moderate amounts of CO2 to. One small mouthed bottle won’t do much as the aquarium is too large. And six to ten bottles is a little problematic. The only way is to use a system which puts a small but steady stream of CO2 into the aquarium with something like a plastic make up jar.
To make the diffuser bottle that will safely add a moderate amount of CO2 to an aquarium, use a large mouthed plastic jar like a make up jar.
.
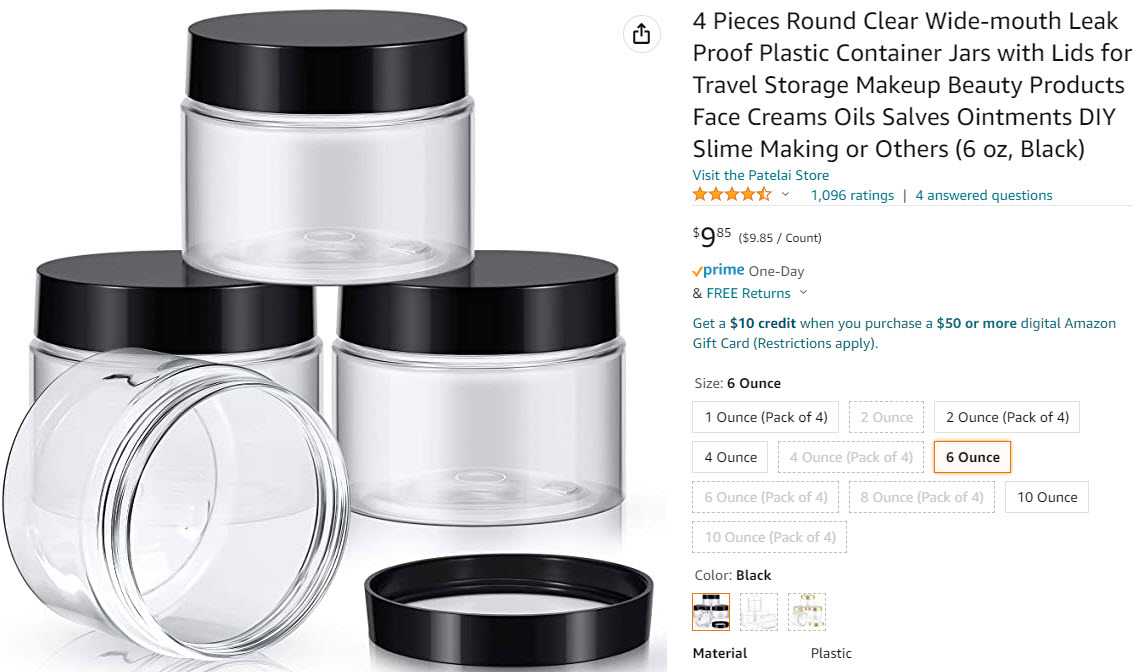
Drill ten to twelve large holes (3/8 ths inch) on the middle diameter of the make-up jar. The amount of CO2 which will dissolve is controlled by a combination of the size of the holes drilled, the number of holes drilled, and the water flow through the container (i.e. how close the container is to flowing water).
The more holes, the larger the holes and the more flow the faster the CO2 will dissolve in the water of the aquarium. So start out with two to four holes and increase to where the CO2 dissolution rate is where you want it to be. Conversely, if the CO2 level is too high for you, simply cover one or more holes.
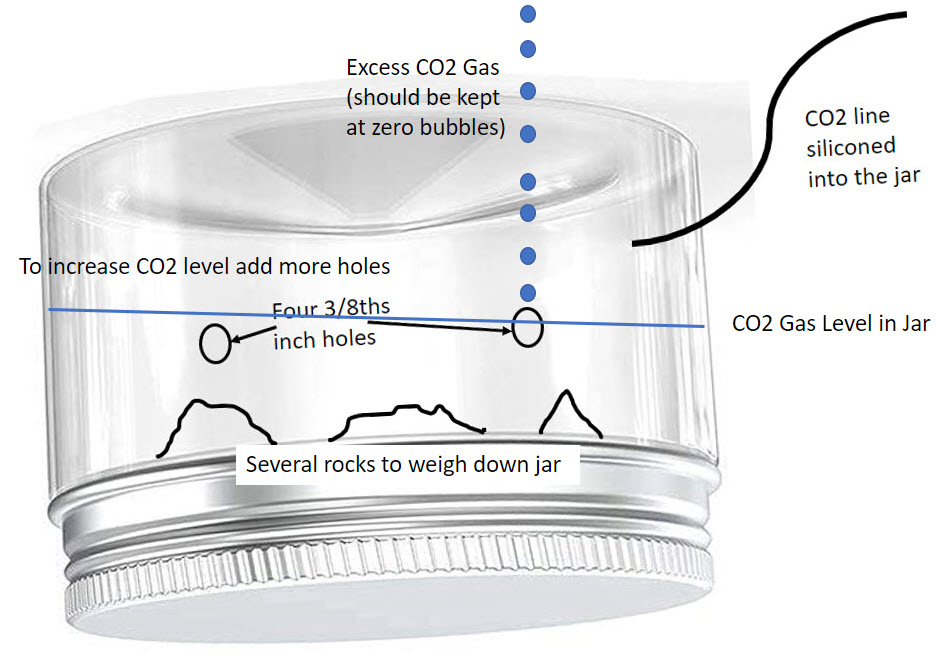
Put several large stones in the jar to weight it down. Then drill a hole in the jar and run a silicone CO2 gas hose through the wall of the jar with a silicone seal. Put the cap on the jar and put it in the aquarium, top side down. This jar can be hidden behind a rock or decoration quite easily due to its low profile.
The jar can fill with CO2 gas down to where the holes are. Excess CO2 can vent though the four holes. Note ideally there will be no bubbles coming out from the jar, Water will also SLOWLY flow in and out of the holes, picking up CO2 as it does that. If one wants to do a large aquarium one can attach a five volt fountain pump to one of the holes through tubing.
Note the above diagram is very rudimentary as Microsoft in its infinite wisdom has just changed its graphics to make it impossible to do certain operations (like make a double line) AAAAaaarrrrgghhhh I hate Microsoft!
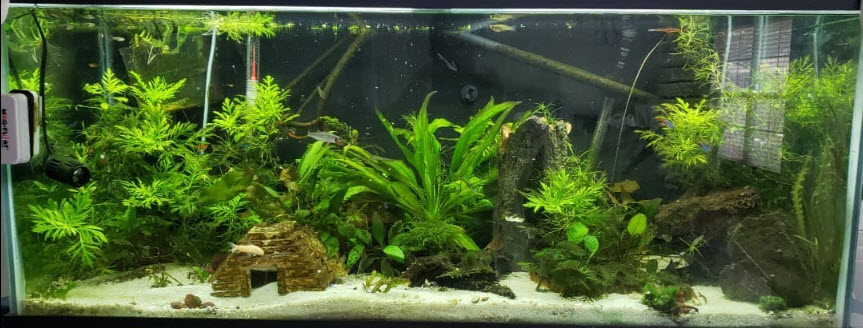
Use a system where the CO2 bubbles into the aquarium from a constant feed CO2 system. This flow can be from pressurized CO2 tanks (what I prefer), yeast system, or a citric acid/baking soda system. It can be simple 24 hour feed with a low pressure system or it can be through a timed solenoid in a pressurized system.
This replaces the diffuser in most CO2 sets with a wide mouthed jar in the aquarium. It becomes virtually impossible to add too much CO2 and kill any fish with a wide mouthed jar diffuser like this. The key here is that the water inside the jar is still water. And still water transferers gases very slowly. Conversely, the turbulent flow around a bubble transfers gases very rapidly.
Sanity Check
These two systems will NOT hit over 20 ppm of CO2 in the aquarium and will only feed low tech “green” planted aquariums. They will NOT feed a high tech planted aquariums.
Let’s do some simple math here. One PPM per 100 gallons is 0.38 grams. One ppm per 10 gallons is 0.038 grams. An 8 fluid ounce water bottle will hold 237 cubic centimeters. The density of carbon dioxide gas is 0.00195 grams per cubic centimeter. So the bottle will hold 0.462 grams of carbon dioxide.
Over one day the bottle system will put into an aquarium 0.462 grams of carbon dioxide per day. So this is about 12 ppm per day (0.462/0.038 = 12.16) added to a 10-gallon tank. This is a VERY small amount of CO2 for one day addition with say a Tropica system 60 in even a ten gallon aquarium.
The second scenario is where one is using the wide mouth jar diffuser in an aquarium larger than 20 gallons. If one were using a sugar/yeast generation with one cup of sugar, one will get about 100 grams of CO2 generated over two weeks. This is 100/14 or 7 grams per day added to the tank per day. In a 100 gallon aquarium this is 18 ppm per day (7/0.38 = 18.42). In a fifty gallon that is 36 ppm scattered over 24 hours.
This will give a decent growth of some low tech “green” plants. It is NOT the 30 ppm of a high tech system. It is a low enough amount that these systems are safe even running 24 hours a day with no pressure tanks, pressure valving and no solenoid if you have a citric acid/baking soda or sugar/yeast arrangement.
General Information
In general, as the price of a system goes up the operating costs go down, the amount of CO2 going into the system is more level and the frequency of maintenance goes down. A large expensive five-pound pressurized CO2 system can have very low operating costs and add a very well-regulated flow of CO2 for upwards of six months on one charge.
One can contrast the efficiencies of any of the variations of this low-tech system with the various high-tech pressurized CO2 systems which use a CO2 diffuser that creates small bubbles to get the CO2 into the water. The high-tech systems have an obvious problem. There is very little discernible difference between the size of a CO2 bubble at the bottom of the tank and the size at the surface when the bubble bursts at the surface of the tank (unless one is using a “reactor”).
This would indicate that easily 30% to 50% of the CO2 being added to the aquarium with a high-tech mister diffuser system is ending up being uselessly dissipated into the atmosphere (testing said 40%). This makes the bottle diffuser low-tech system more efficient than a bubbler and thus cheaper to operate if one can size everything properly.
Of course, the biggest difference between the two systems is safety. With a fine bubbler in a high-tech system, if the regulator sticks or drifts (a surprisingly common occurrence), there can be a whole lot of fine CO2 bubbles put into the aquarium. This can raise the CO2 level above 30 ppm and kill any fish in the tank. With the low tech bottle diffuser method, the excess CO2 will simply bubble to the surface in harmless large bubbles.
Further Information on CO2 Systems
A general treatment of carbon dioxide in the planted aquarium can be found at this link:
15.6 Carbon Dioxide in a Planted Aquarium
More information on setting up a high tech CO2 injection system can be found at this link:
15.6.3. High Tech CO2 System
Another type of aquarium uses a wood rich soil to provide a modicum of CO2 to an aquarium:
15.8. Walstad Aquarium
Yet another type of planted aquarium uses wood pellets to provide extra CO2:
15.10. Hybrid Planted Aquariums
Using food to provide CO2 is covered in this link:
15.6.4. CO2 from Food
Measurement of the CO2 level in an aquarium is covered in this link:
15.6.6. Measuring CO2
The intricate relationship between Plants, KH, pH, and CO2 is covered in this link:
15.6.2. KH, pH, CO2 Relationships in a Planted Aquarium
And some additional data on the complex “Bermuda Triangle” of pH, KH, and CO2 can be found in this link:
4.4.3. Carbon Dioxide and pH
.
Return to Planted Aquarium Menu
.
Aquarium Science Website
The chapters shown below or on the right side in maroon lead to close to 400 articles on all aspects of keeping a freshwater aquarium. These articles have NO links to profit-making sites and are thus unbiased in their recommendations, unlike all the for-profit sites you will find with Google. Bookmark and browse!
.
Tom says
Hi Dave. I’ve been having great success using an upside-down “anti escape” reptile feeder tray as a modification to the makeup jar diffuser you suggest. With suction cups and a rectangular profile it is easy to position anywhere in the tank. I locate it on the back glass of the tank, 2 inches below the top of the tank. During the day I aim the outflow of a powerhead across the bottom of the feeder and get great turbulent agitation/dissolution of the trapped CO2 with little movement across the top of the tank. At night I deflect the outflow up toward the surface. The surface of the tank then gets agitated for O2 and the trapped CO2 overflows and harmlessly bubbles over every few minutes.
Dave says
In reply to J … CO2 tablets are worthless snake oil marketing ploys.
J says
Hi! What’s your opinion on CO2 tablets?