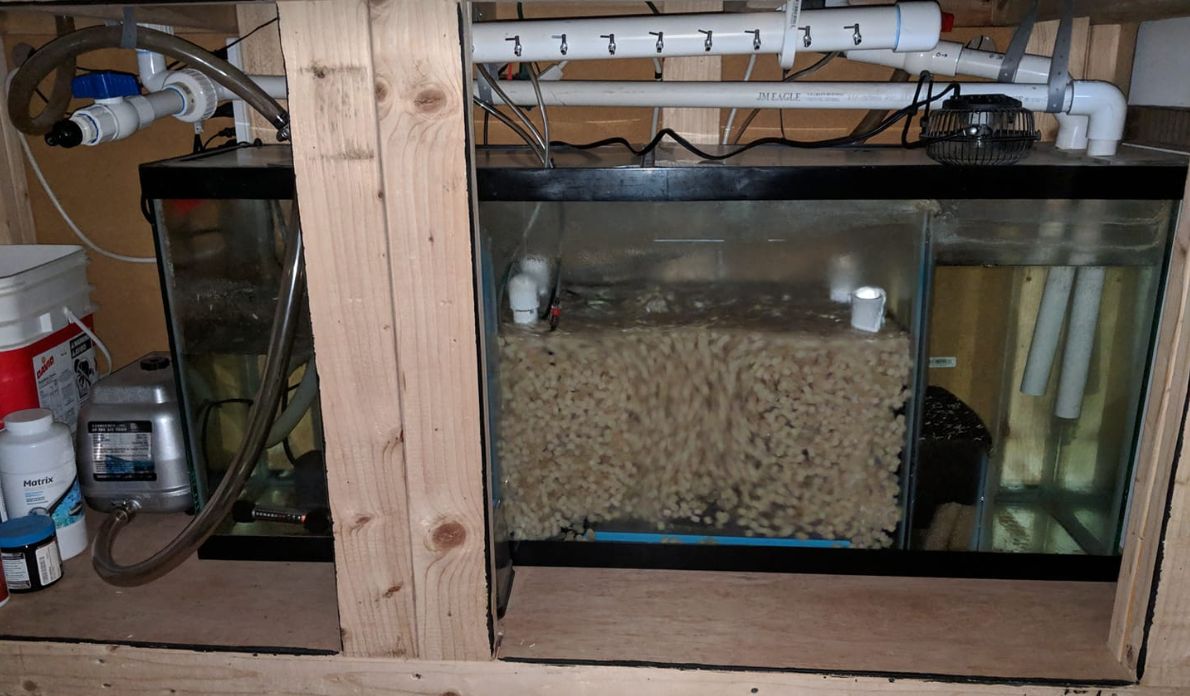
Commercially available filter sumps are expensive, over $300. With addition of a pump and good biomedia the sump can come to over $500. Most people make their own sump filters using glass or acrylic aquariums 30% to 50% of the size of their main aquarium. One can Google Joey (the King of DIY aquariums) and buy his book. He has some great designs of filter sumps that can be cheaply built.
A very cheap sump can be made with the only big expenditure being the pump to move the water back to the aquarium. A cheap plastic wastebasket forms the sump (one can also use any plastic container such as a 55-gallon drum, garbage containers or any of the many plastic bins on the market).
Put a length of multiple holes drilled PVC on the bottom of the wastebasket. Bring the pipe up to an external pump that returns the water to the aquarium. Alternatively bury a submersible aquarium pump in the biomedia.
Fill the wastebasket with mesh laundry bags filled with biomedia (K1 and plastic pot scrubbers are the best media as determined by testing). Use a mesh bag filled with lava rock on top of the biomedia to weigh down the biomedia and give one about 3 to 4 inches of water over the biomedia. This water level needs to be maintained to prevent the system from running dry.
Use an overflow device to remove the water from the aquarium and shunt it to the top of the wastebasket (there are many designs of self-leveling overflow siphons and hang-on overflow boxes on YouTube). This results in a very cheap and easy filter with a huge biofiltration capacity.
Note don’t use a drilled pipe setup at the base of the homemade sumps. It plugs too easily. Rather use half inch PVC crosses to form a branching underlay. Prevent the media from entering the horizontal pipe openings by unwinding pot scrubbers, cutting them into four-inch sections and rolling them up. The cigar shaped roll ups can be stuffed into the ends of the PVC pipe and will stop any media from entering.
An inexpensive sump can be made from the following easily found materials:

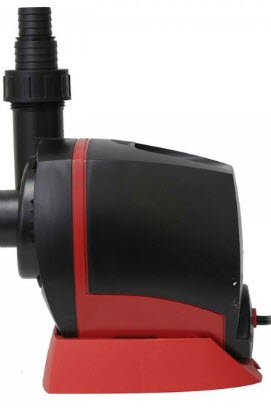
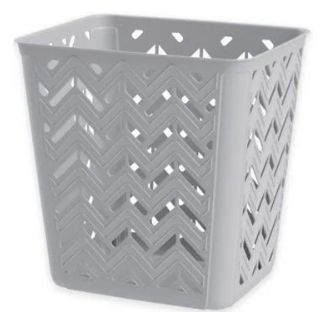
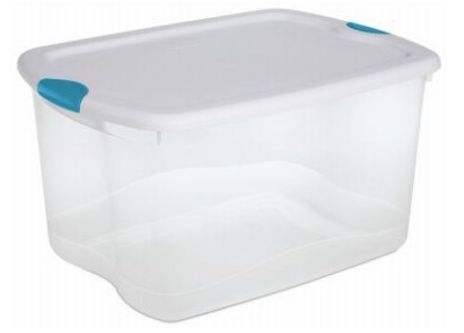
These are plastic pot scrubbers (can get in bulk on line for $0.35 apiece), a submersible pump, a 2 to 4-gallon bathroom waste basket with holes (can be drilled or heat formed) and a 32-gallon tote or similar item (discard the top).
Just fill the tote with scrubbers. Bury the waste basket in the scrubbers so it is below the rim of the tote. Put the pump down in the waste basket. Add plumbing, either sturdy flexible tubing with hose clamps or hard PVC plumbing. Fill with water and go. Note the large tote can easily be replaced by an aquarium, waste basket or a garbage pail if one desires. And the pot scrubbers can be replaced with foam or static K1 media.
Use an overflow device to remove the water from the aquarium and shunt it to the top of the pot scrubbers (there are many designs of self-leveling overflow siphons and hang-on overflow boxes on YouTube and a link to many designs below). The whole setup can be made for about $150.
Note that for about $200 this set-up can be converted to a K1 fluidized bed which will filter for an amazing number of fishes. Just exchange the pot scrubbers for 60% K1 and add some air stones and an air pump.
How I set Up My Sumps
For my sumps I generally use the largest sized aquarium I can fit into the cabinet or stand under the aquarium. It is easy to cut acrylic sheets and drill them for partitions. They can be siliconed in place without worrying about appearances. I find they are very easy to make, even for someone as mechanically challenged as I am.
I don’t bother with mechanical filtration in my sumps and make them all two chamber affairs with a fluidized bed K1 chamber inlet side and a pump chamber. The two chambers are always connected via holes and and overflow in such a way as both chambers have the same water level at all times. This means I only have one simple partition to make to build the sump.
The only expenditure of any size are for the aquarium and for the pump. I collect old, crappy, cheap aquariums off Craig’s List to use as sumps.
For more information on sumps click on the following links:
8.6.1. Sumps in Depth
8.6.2. Static Submerged Media Sumps
8.6.3. Trickle Filters
8.6.4. Wet-dry Sumps
8.6.5 Fluidized Bed Sumps
For those who are cowed by the complexity of a fluidized bed there is a design of sump called a “foam sump” that is very simple in design and in operation. The article about these types of sumps is:
8.6.7. Foam Sump
Note that many beginners are concerned about how to flow the water to a sump. The common refrain is “my aquarium isn’t drilled, how does the water get to the sump?” Click on this link to get some ideas:
14.7. Overflow Devices
.
Return to Filter Menu
Return to Sump Menu
.
Aquarium Science Website
The chapters shown below or on the right side in maroon lead to close to 400 articles on all aspects of keeping a freshwater aquarium. These articles have NO links to profit making sites and are thus unbiased in their recommendations, unlike all the for-profit sites you will find with Google. Bookmark and browse!
.
Will says
Question about heating and plastic bin sumps- are there significant heat losses from the plastic vs a glass sump?
Also, many folks seem to put their heater IN the sumps- given some can get quite hot indeed, I presume if you employ a plastic sump it would be wisest to place your heater in the aquarium itself instead of the sump. Or am I overestimating the hazard?
Dave says
In reply to AE …. No, canister filter overflows are pure siphons. You can’t use that for a sump. You either need an siphon to an overflow (many different designs) or a drilled tank.
https://aquariumscience.org/index.php/14-7-overflow-devices/
AE says
Can I use Replacement Accessories Kits for SUNSUN HW-303B/403B/703B Canister Filter to plumb a 5 gallon DIY sump filter? Does the inlet and output pipe act as an overflow?